Mixing Recipes
Glazes “don’t travel well”, in other words materials, application, and firings vary from studio to studio. Even for well-known glazes, it’s important to first make a few small tests. For these tests, use 50g or 100g of material and apply the test glaze to a number of different clay bodies. If a test comes out well, mix a larger batch of 1-2Kg. 1Kg is enough material to glaze small cups, 2Kg is a good amount for small bowls. These larger tests should reveal any problems with glaze suspension, application (cracking, peeling, etc.), and fired glaze defects. Once you have some nice results with 1Kg, you can finally move on to a big bucket of 5-10Kg.

Batch Calculator
The batch calculator simply multiplies each ingredient amount. It is unit-independent. In the example shown, it does not matter if we are making 2000 grams, kilograms, pounds or even tonnes of glaze.
Note that additive materials such as coloring oxides are calculated in addition to the batch amount.
In the example below, the base recipe is calculated to 1000 units (grams, pounds, whatever), while the additional materials (Tin Oxide and Yellow Iron Oxide) are added on top of 1000.

Sieves
For “natural” glazes containing large-grained materials or ashes, or in cases where homogeneity is not a concern, it’s fine to use a larger screen of 60-80 mesh. But in all other cases it’s good to use 120 mesh or smaller. Small mesh size is very important for glazes that contain small amounts of very important materials such as coloring oxides (e.g. cobalt and iron). But it’s also important to ensure that materials are adequately broken up and mixed (such as clays).
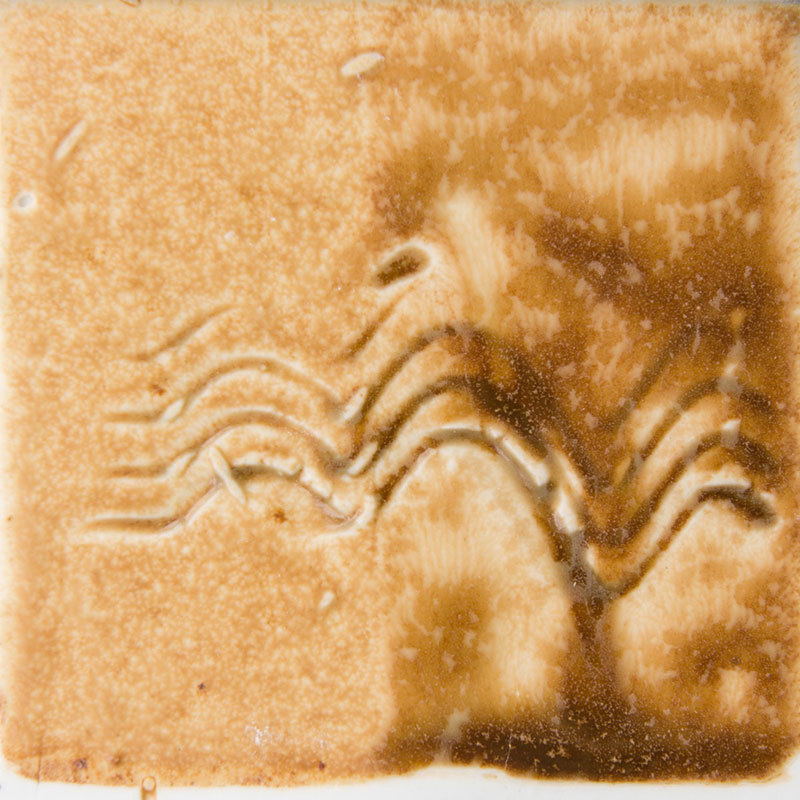
Below you can see two tests of the same batch of glaze fired in the same kiln. The first test was applied after passing the materials three times through an 80 mesh screen. The second test is the result of passing that same glaze once more through a 120 mesh screen.

Scales
Weight measuring scales come in a wide range of types and prices. Purchasing a scale is a trade-off between cost, resolution and capacity. In general, scales that can weigh larger amounts of materials have lower resolution (e.g. 1 gram), while scales that have higher resolution (e.g. 0.01 grams) can only weigh small amounts.
For weighing small amounts of glaze materials (for example, 50 and 100 gram test batches), it is very important to use a scale that has a readability to at least 0.1 grams. (Some glaze materials such as cobalt are very strong, and a difference of even 0.1 grams in a 100 gram batch will have a noticeable impact.) Ideally, your test scale will have a capacity of over 100 grams and readability of 0.01 grams.
Note: Just because a scale has a high resolution (e.g. 0.01 grams) does not mean it has high accuracy. Price is usually a good indication of accuracy, so it’s best to get the most expensive scale that you can reasonably afford.

The Ohaus Scout Pro SP4001 and SP202 digital scales during calibration. It is important to periodically calibrate your scales using accurate calibration weights.

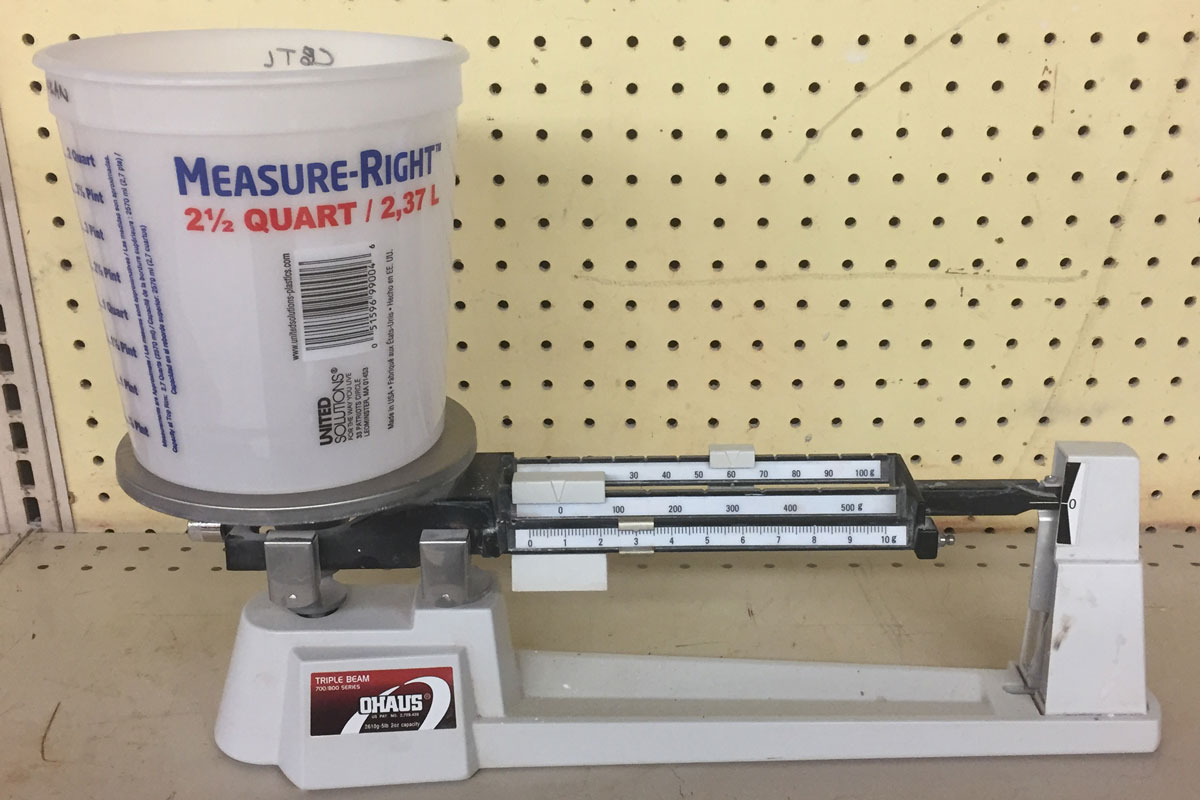
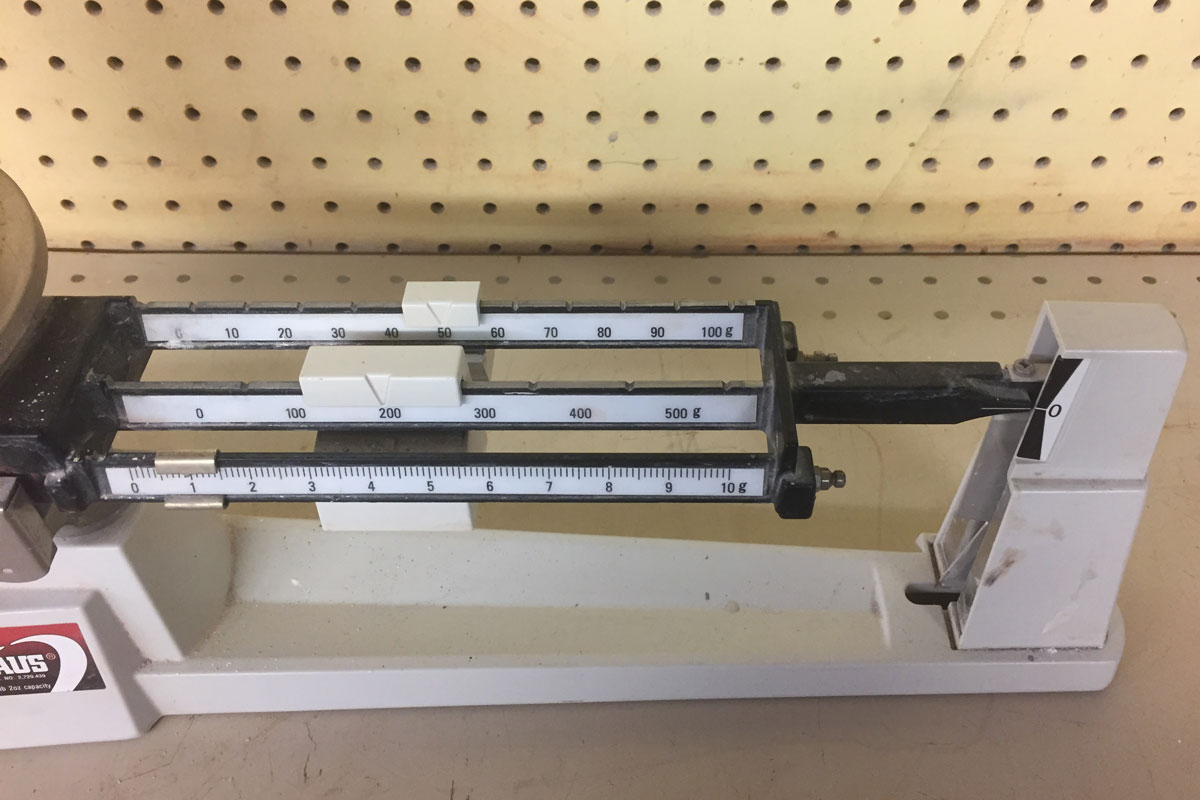
Using a Beam Scale
For those on a budget, perhaps the most affordable solution for precise weighing of glaze materials is a triple beam scale .
-
Select a container to hold glaze materials and weigh it on the scale. In the example below, the container weighs 63 grams:
-
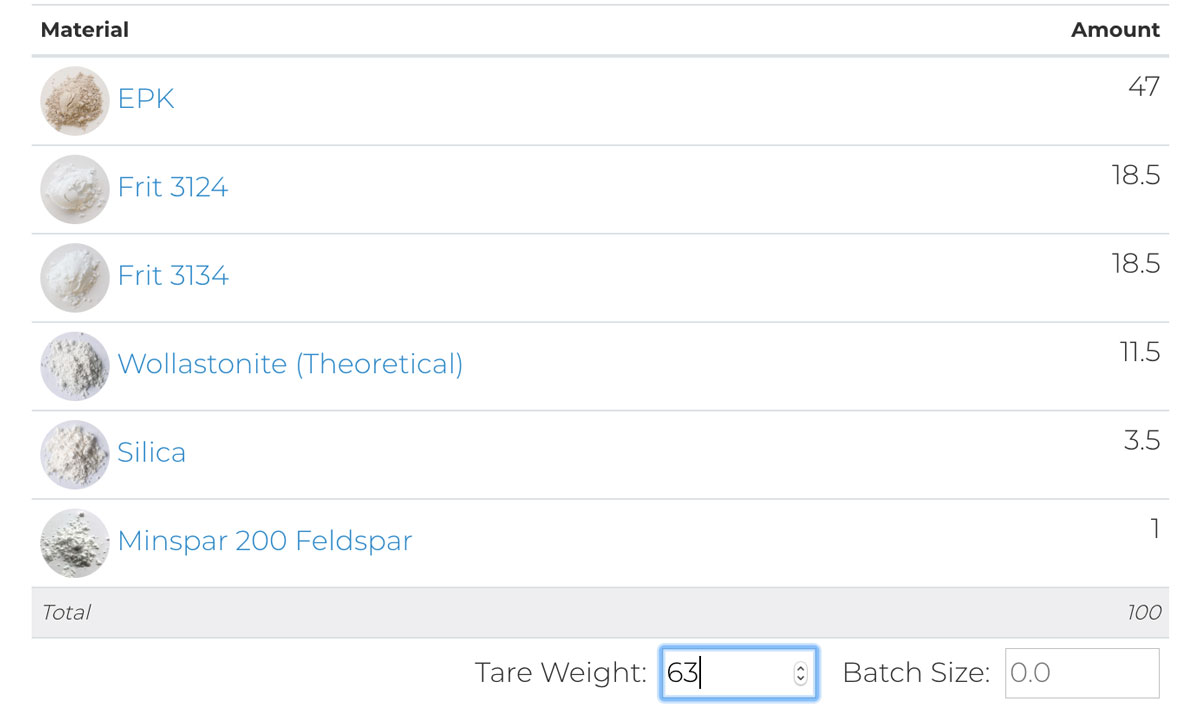
On the Glazy recipe page, enter the Tare Weight:
-
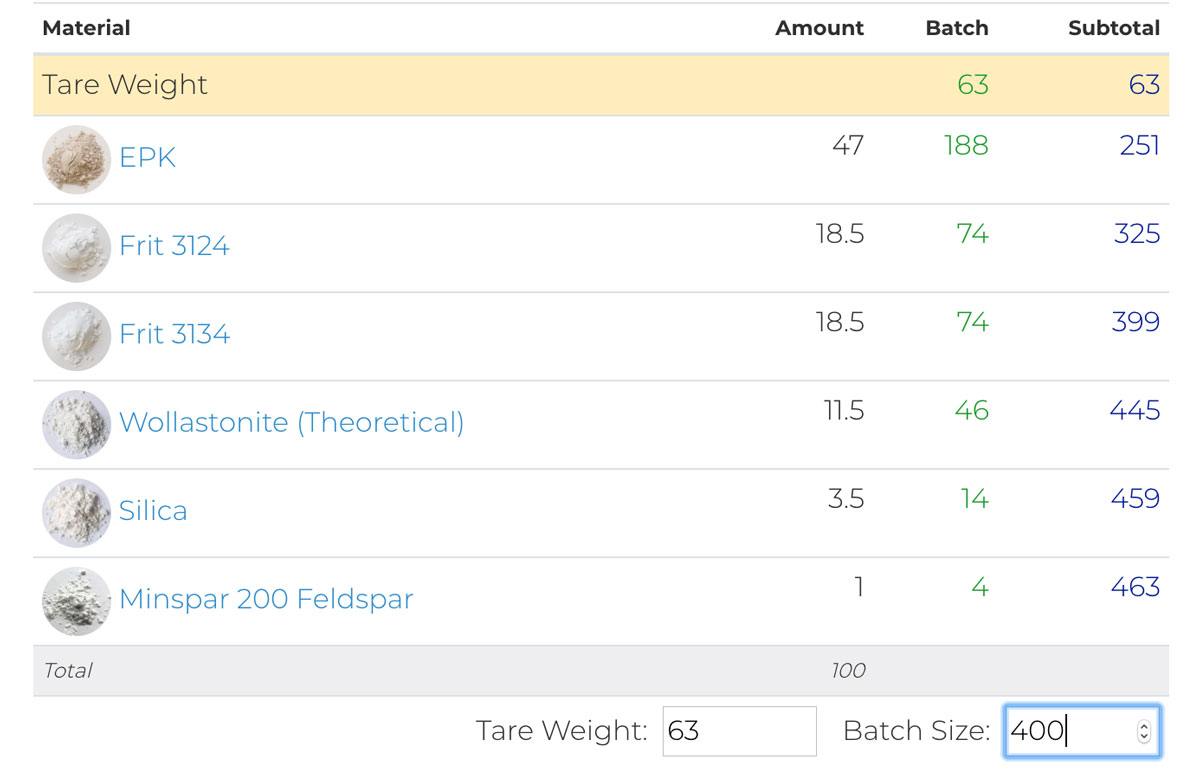
Enter the Batch Size. The batch size is unit independent.
In the below example, we could be measuring 400 grams, 400 pounds,
or even 400 tons of recipe material. But in this case, we are using grams.
Notice that the final subtotal equals 463, which is the Tare Weight
(weight of the container) plus the Batch Size.
-
After measuring out the first ingredient, EPK, our scale should
show 251 (63 grams container weight plus 188 grams of EPK):
-
After measuring out all of the ingredients for this batch,
the scale should read 463 (63 gram container plus 400 gram batch):
Mixing Test Glazes
It’s important to wear a well-fitting, NIOSH certified mask whenever mixing ceramic materials. All materials should be handled in well-ventilated area to avoid the risk of inhalation. For more information about the hazards of mixing ceramic materials, see the article Studio Dust by Mark Goldberg.
For test glazes, try to find re-useable containers that fit your seives like these plastic restaurant soup bowls with lids. Glaze name & recipe can be written on the container with permanent marker.
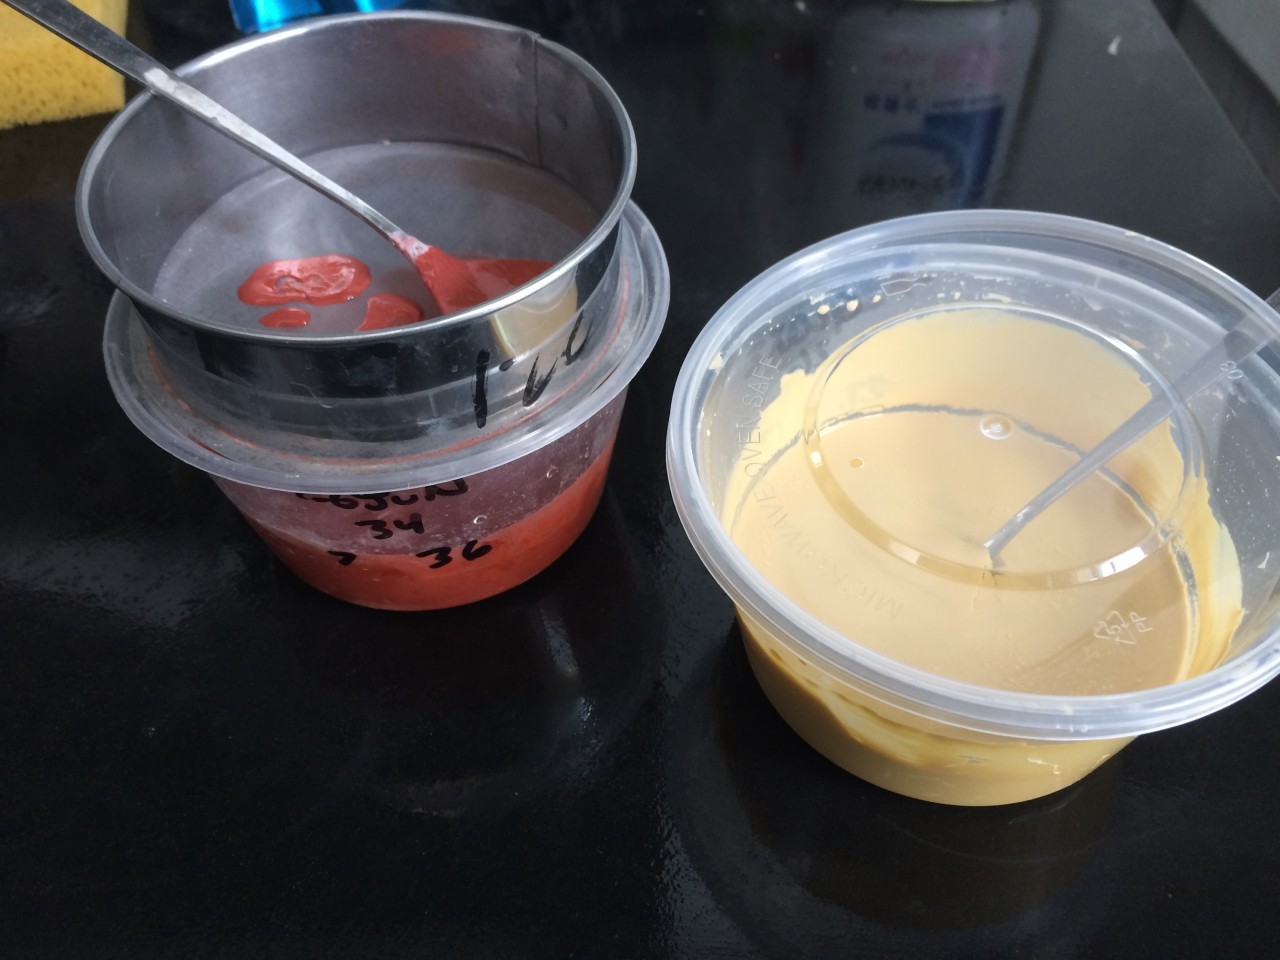
Carefully measure out each ingredient into the bowl, placing into separate piles so that any extra material can be easily removed. The measurement displayed on the scale should match the “Subtotal” column in the Glazy Batch Calculator.

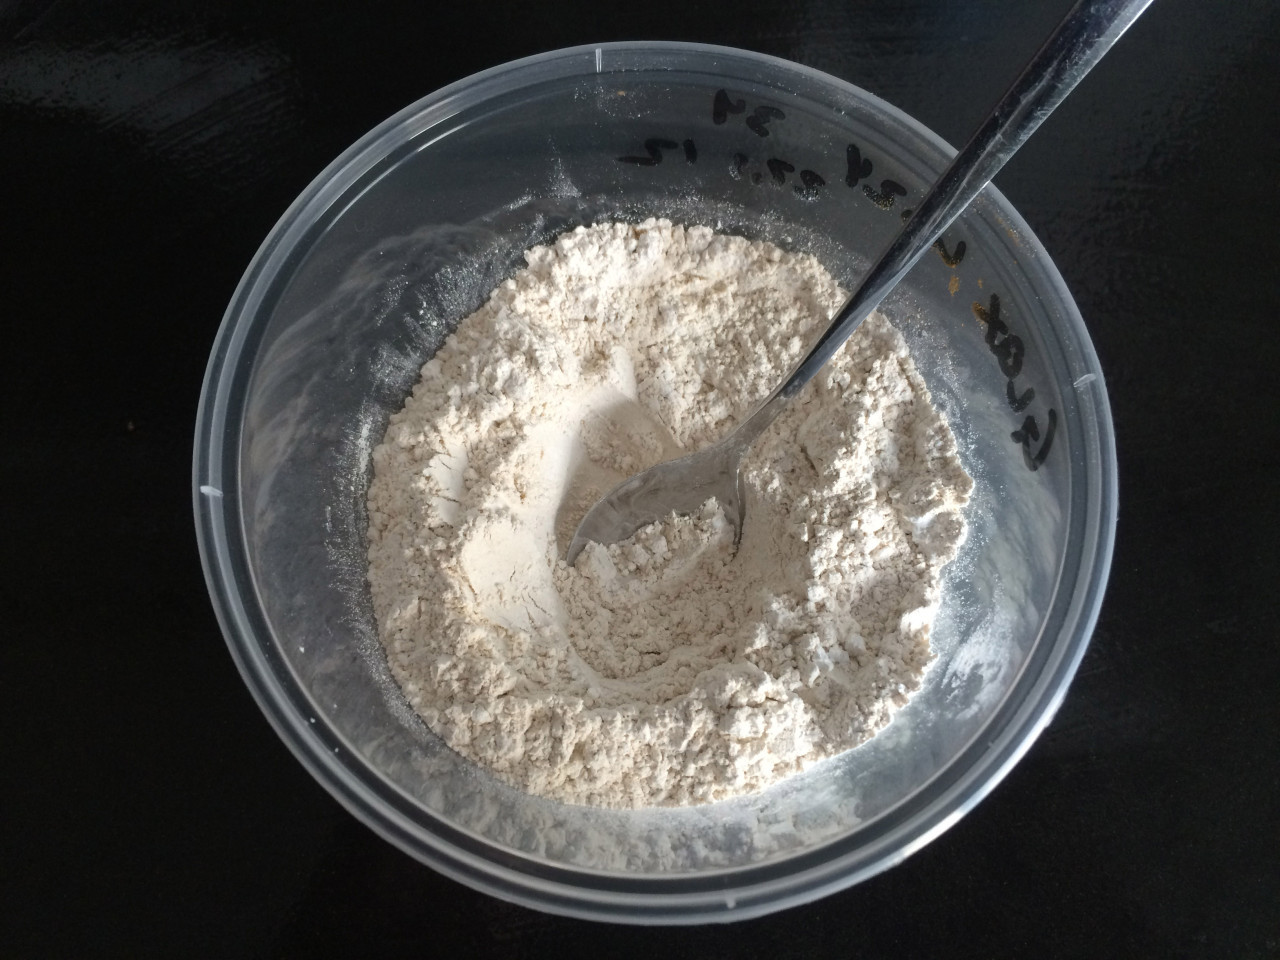
Dry mix the ingredients with a spoon until well dispersed.
For 100 grams of material, add about 50-60ml of water (less if your glaze has little or no clay).

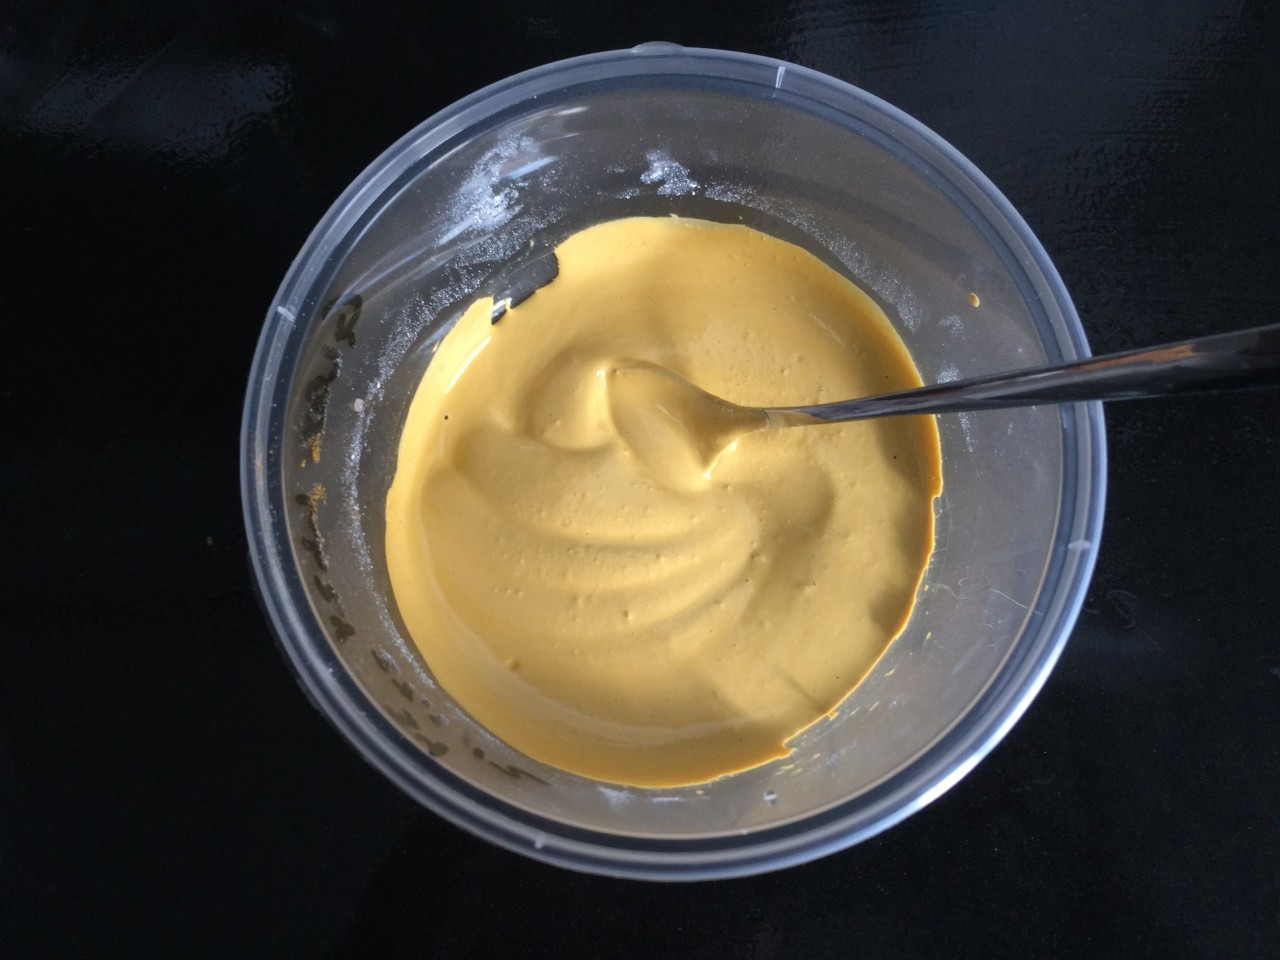
Wait a few minutes until the water has thoroughly soaked the materials, then stir. Glaze should be fairly thick, do not add too much water as you will be adding more as you go along.
Use a fairly stiff rib to scrape the glaze through the sieve.
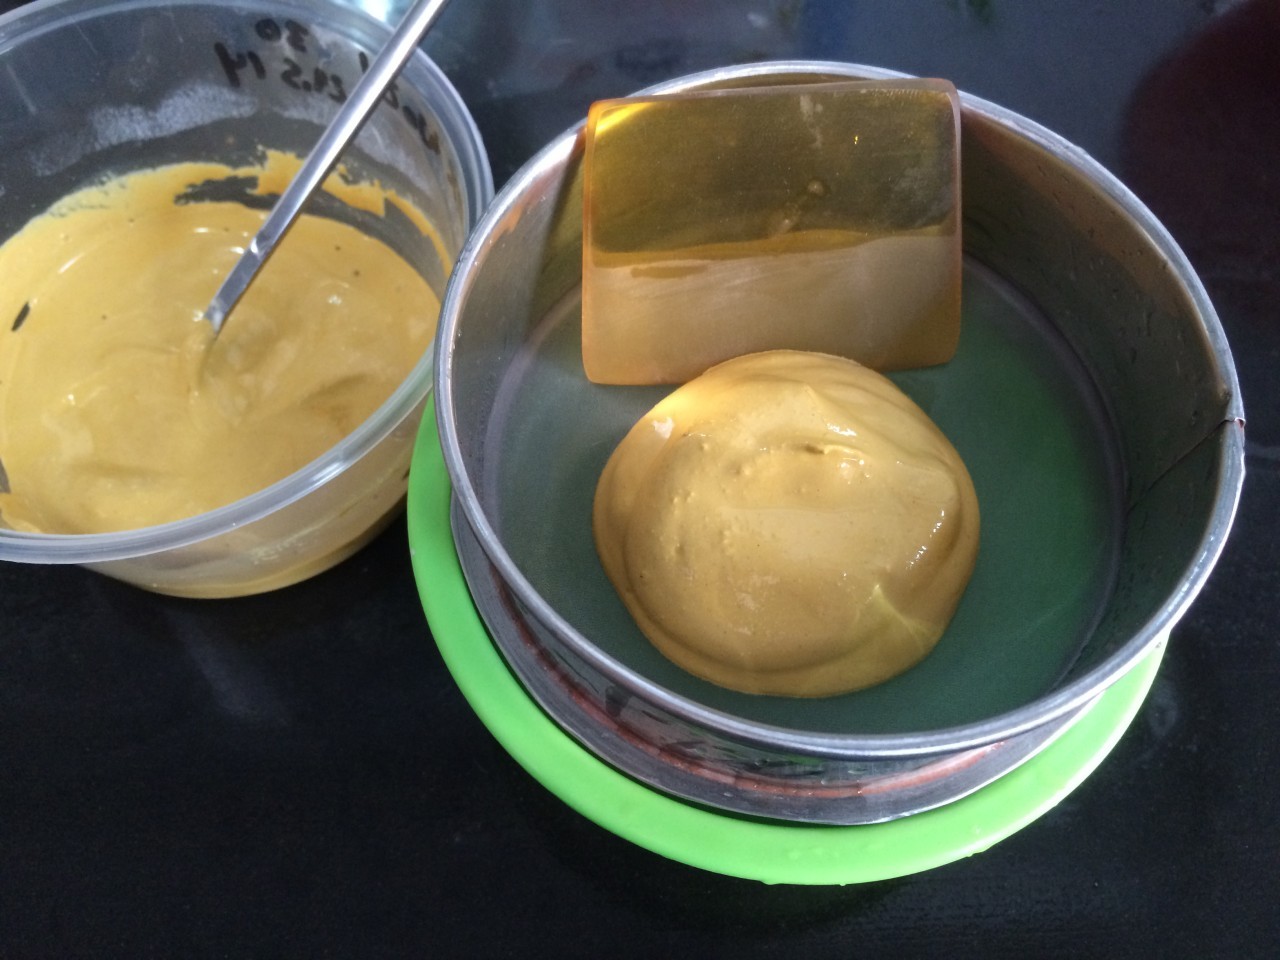
The first pass takes the most work as the clays are broken apart.

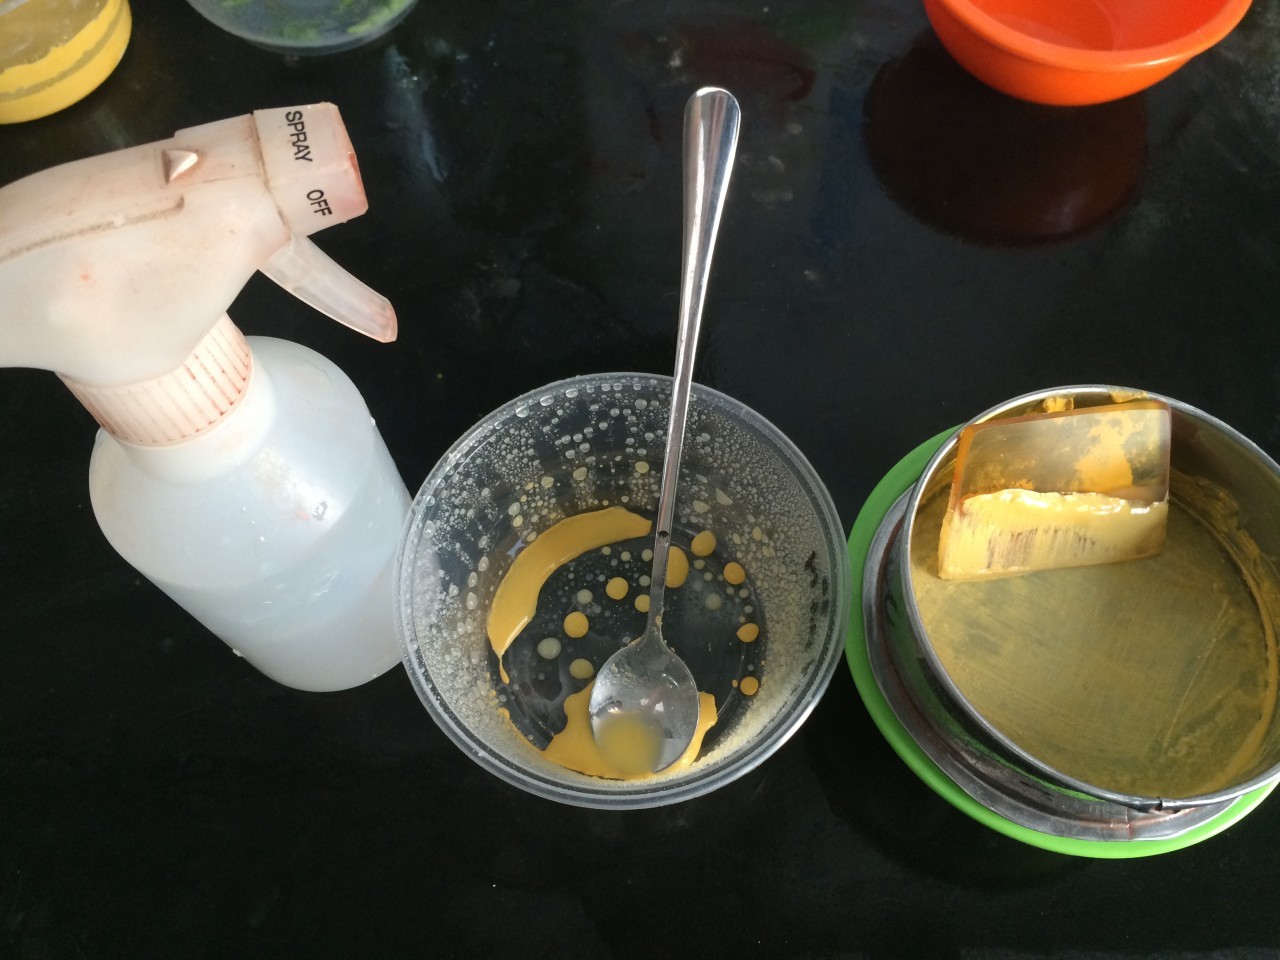
Try not to lose any material, especially if preparing for volumetric blending. Use a water sprayer to clean the container, spoon, and sieve after each pass. But don’t add too much water.
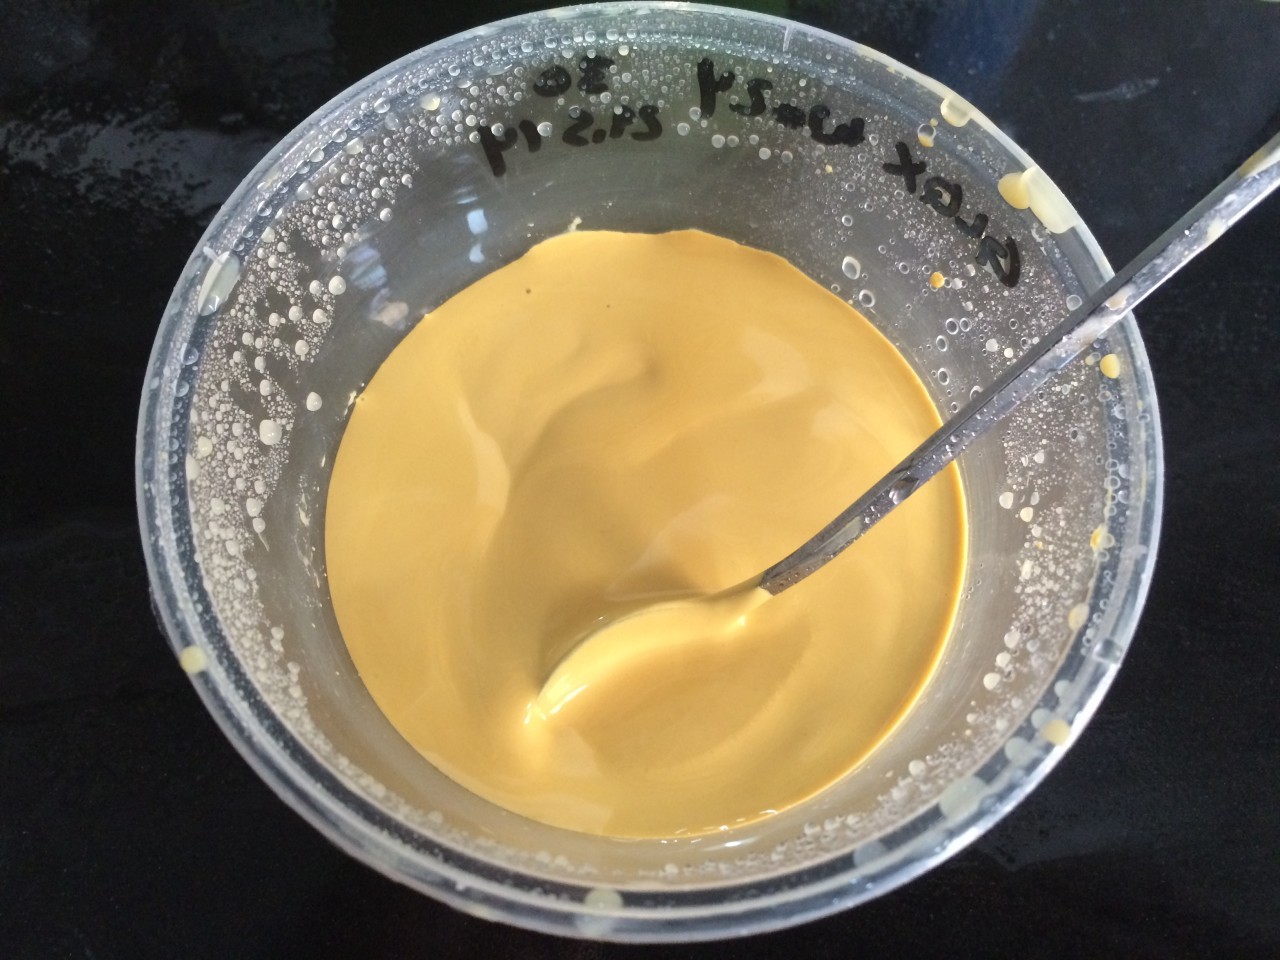
Pass the glaze through the sieve two or three times. After the final pass, the glaze should be creamy without any large grains or lumps.
Now you can slowly mix in water and dip your test tiles. Flat test tiles require the least amount of glaze.

Test tiles can be dipped multiple times in order to see the result of glaze thickness. It is best to double-dip the side of a test tile rather than the top so that the two different glaze thicknesses do not run into one another.
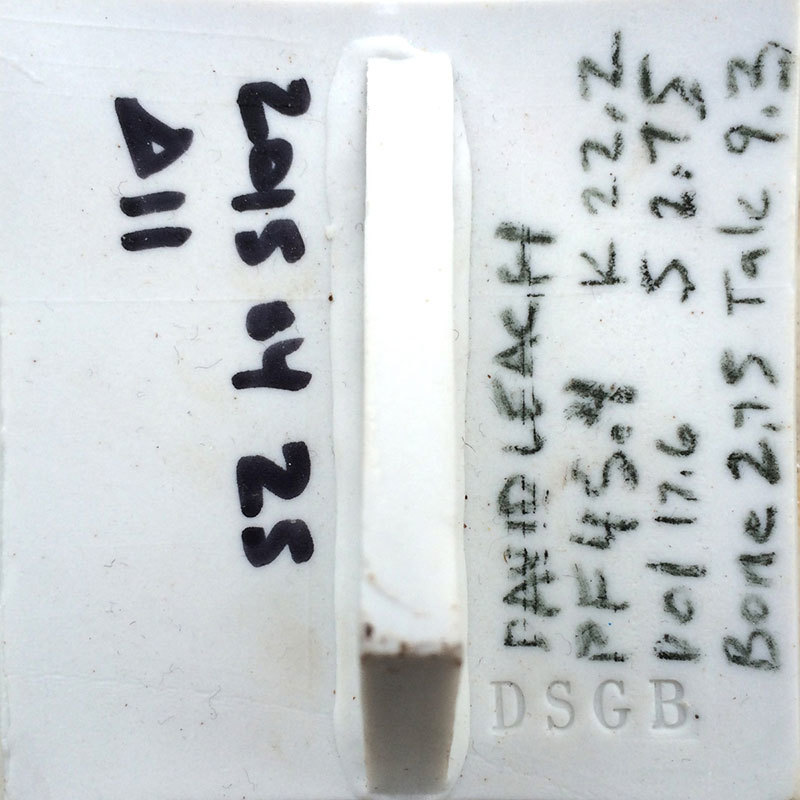
Record as much information as you can on each test tile. On this tile, the type of clay has been stamped, while glaze information was written with an underglaze pencil. After firing, a permanent marker was used to record the firing date and actual cone reached.