After a trip to NCECA, National Council on Education for the Ceramic Arts, I had acquire a surplus of cups and mugs. The cabinets and shelves did not do them justice so I designed this.
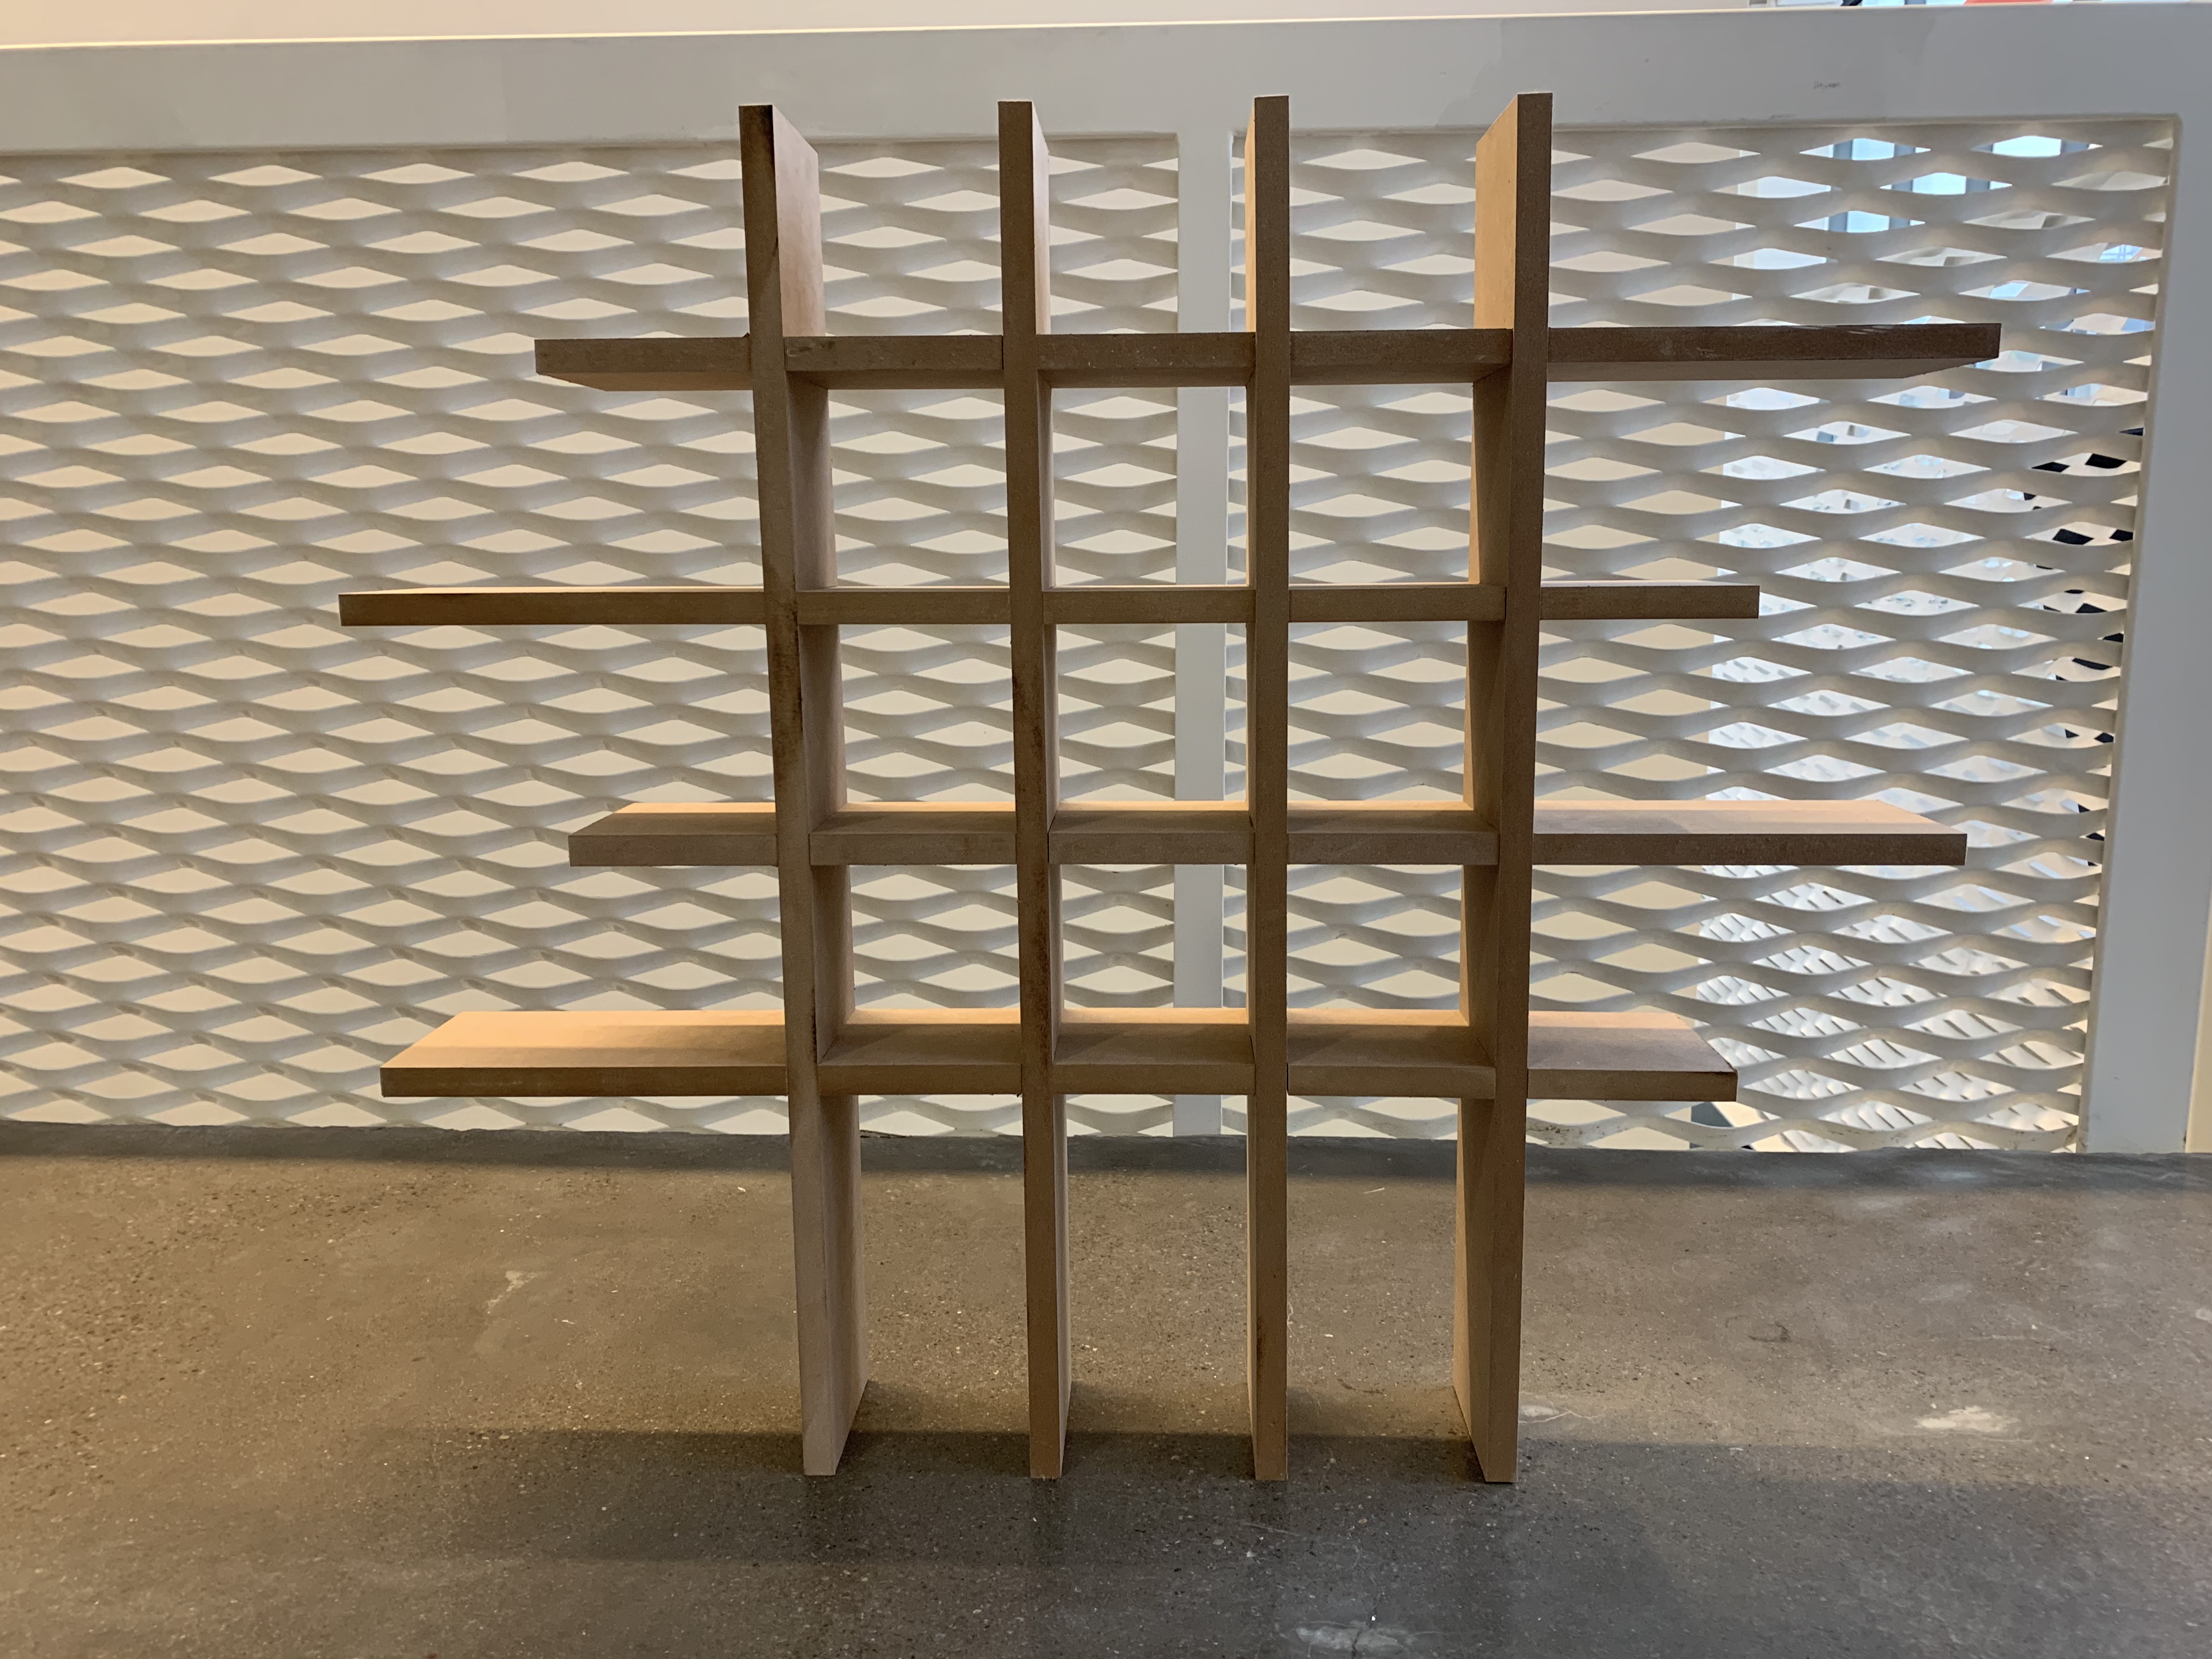
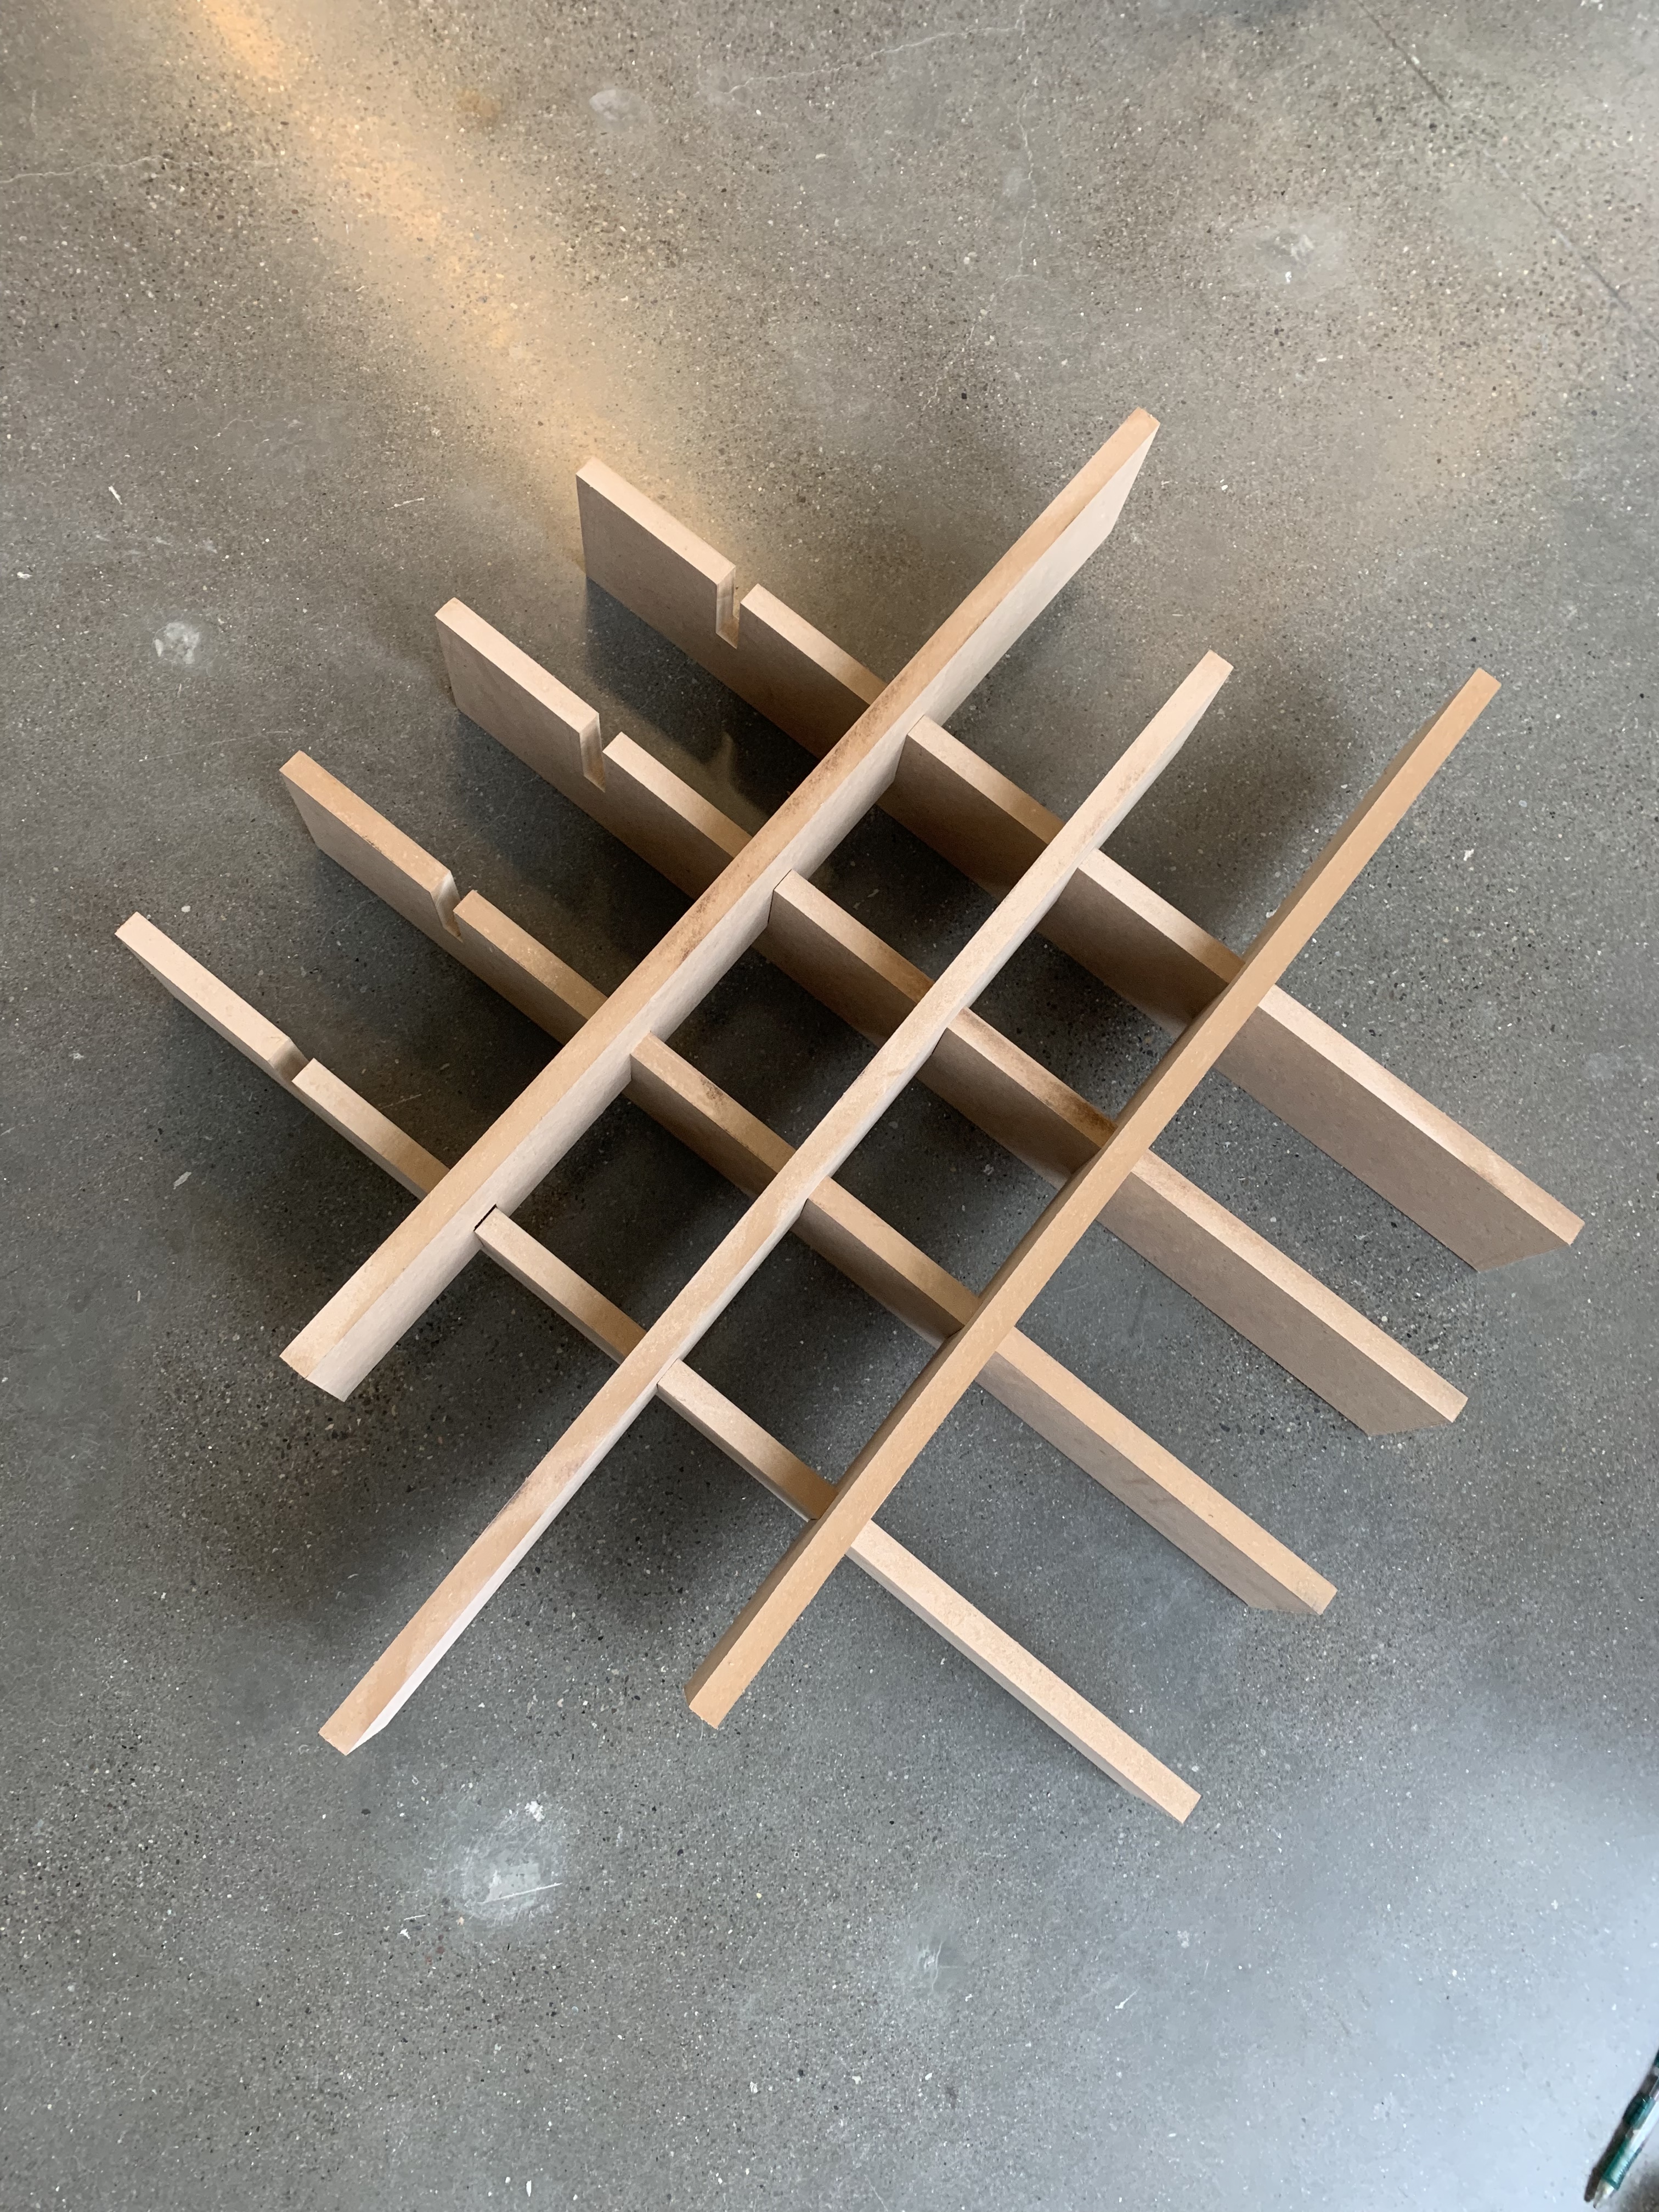
This is re-designable to accommodate for any amount or wall situation. It can even be free standing as it is here. I started out thinking about how many cups I would want on display, 30 in this case. The next step was to draw out a grid that had the potential to hold 30 cups, this is where the design can vary. I went with a square design with an elongated bottom and varying side widths for funkier cups.
Tools and Materials:
Table Saw
Table Saw attachment
Ruler
Pencil
MDF Board
The depth of each shelf is 5 inches, after looking at the feet of each pot I decided this depth would be able to support it while not being too obtrusive into a space if I wanted to hang it on a wall. The height and width of each square is 6 x 6 inches. Enough to hold each object with enough clearance.
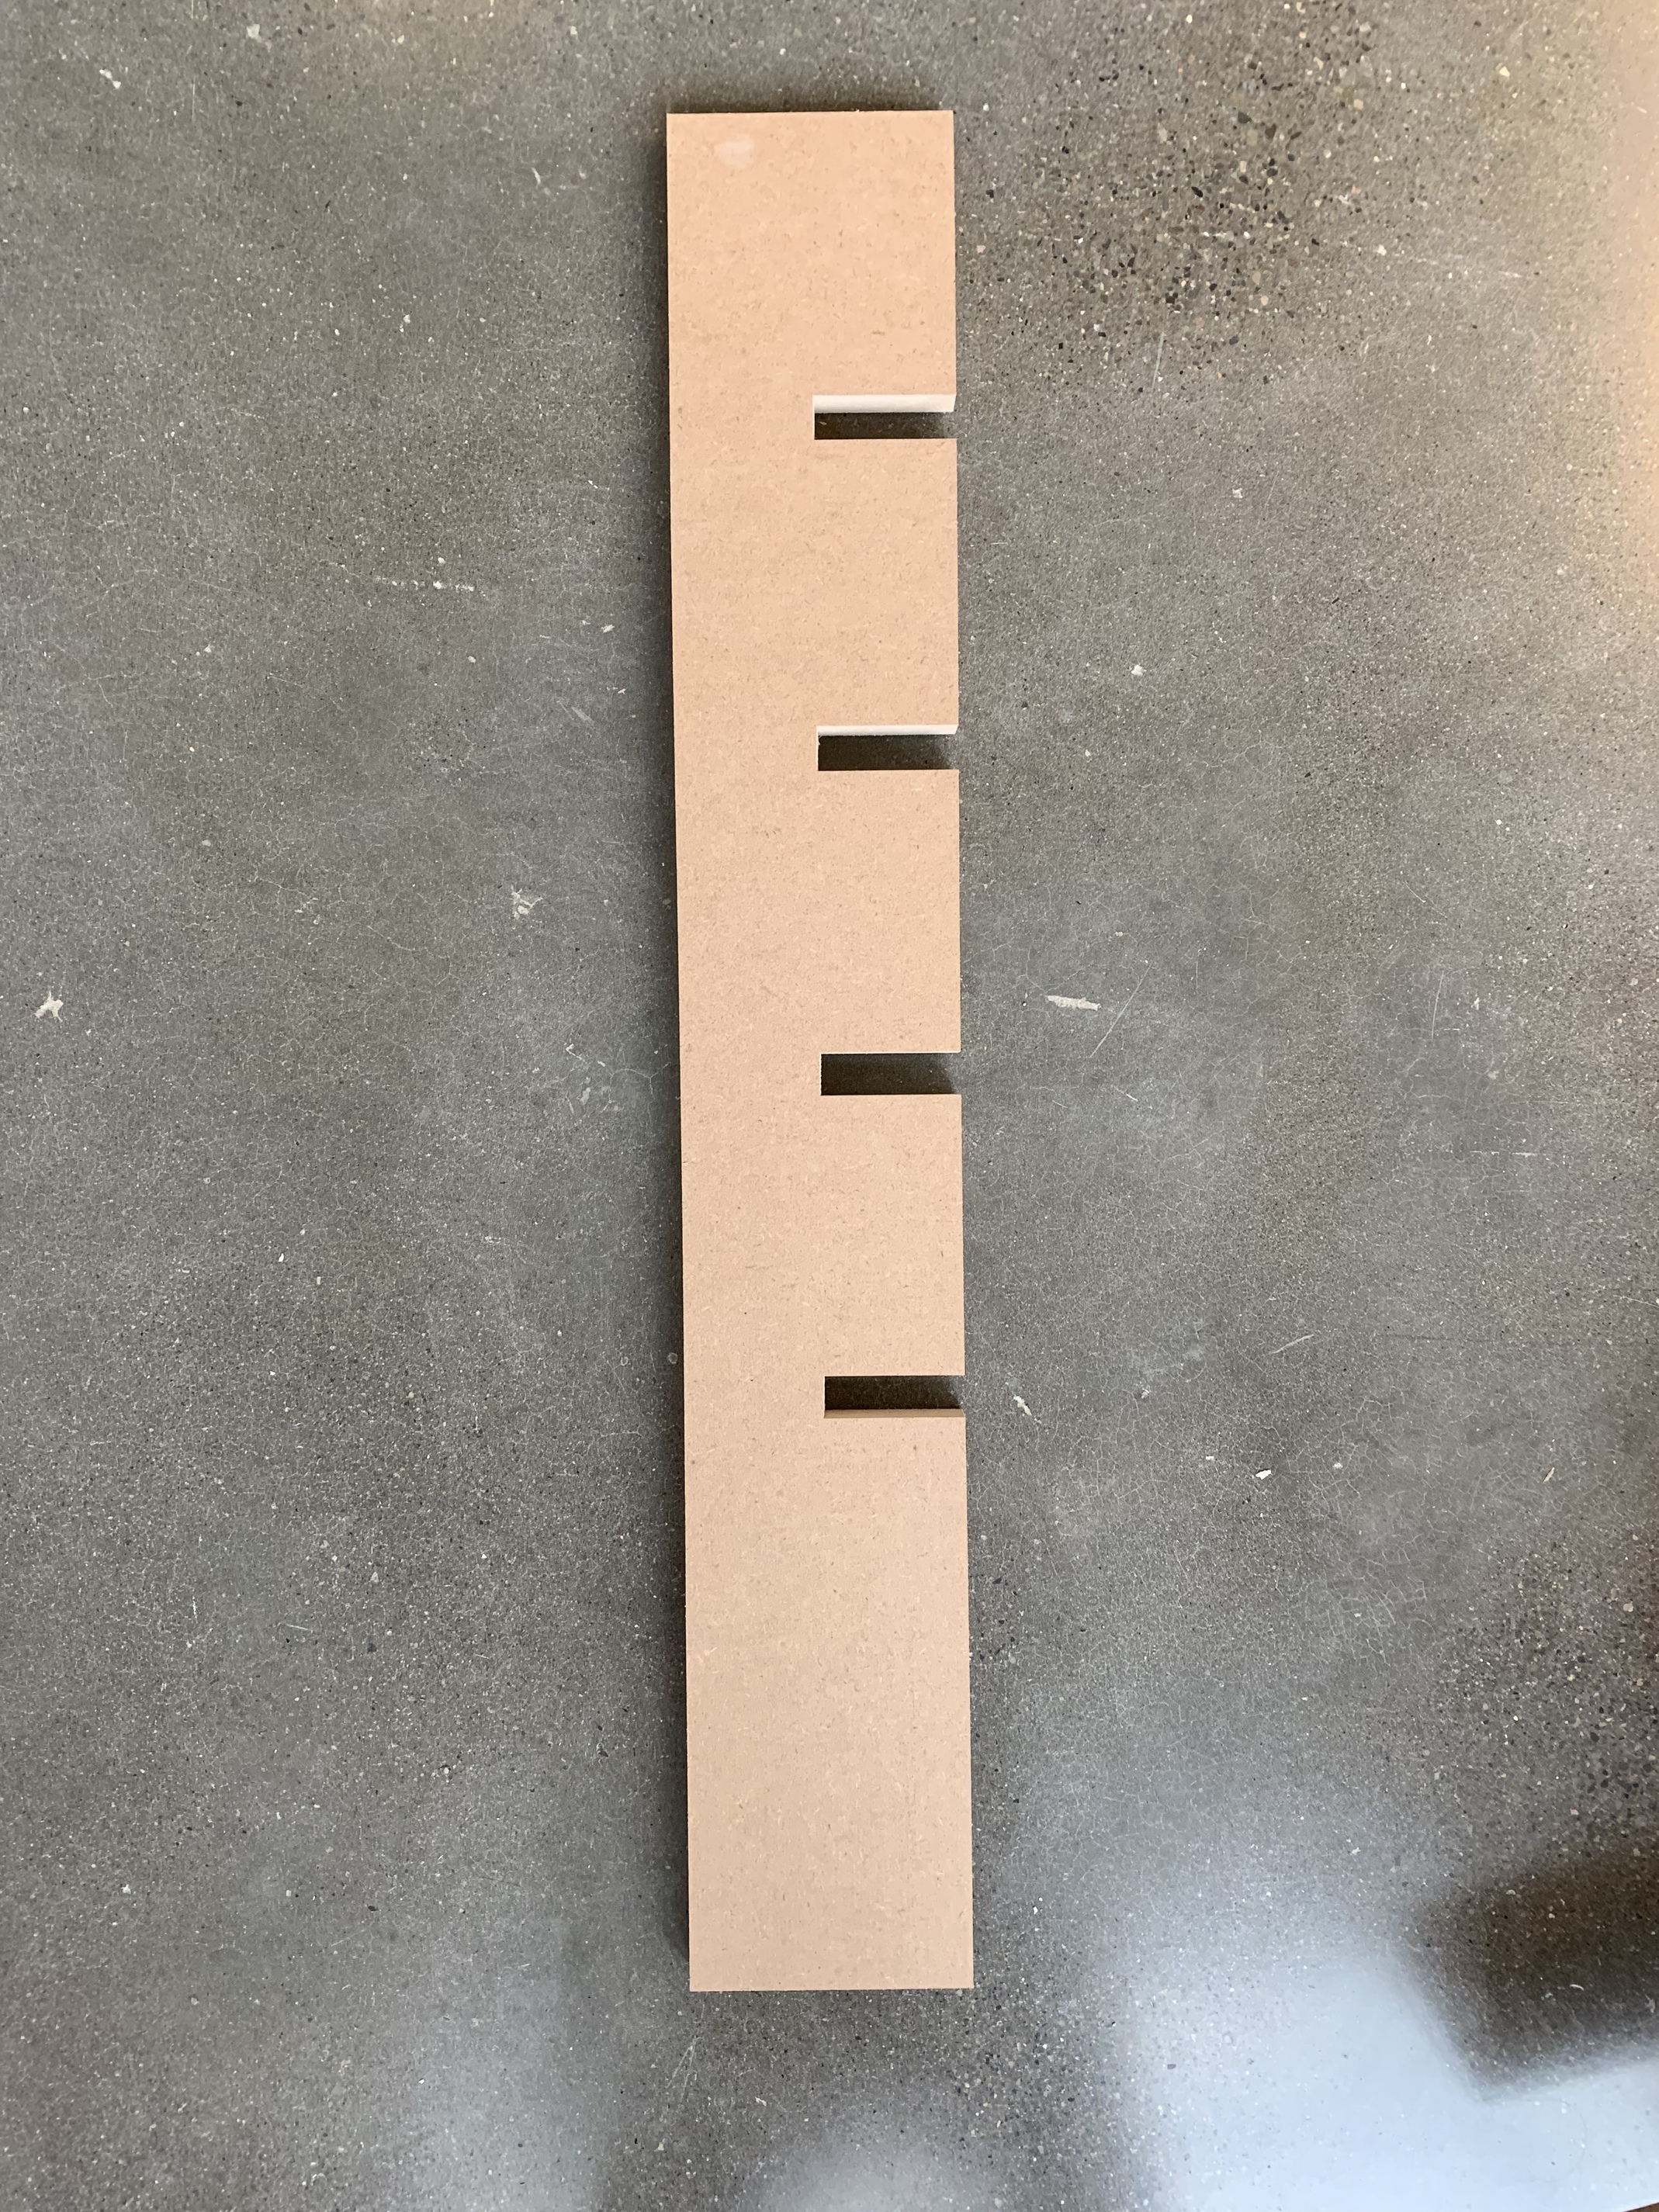
For this piece in particular, I used 3/4 inch MDF board. I cut out 8 pieces that were 33 inches long by 5 inches wide.

I measure half way down the board longways, creating two 2.5x33 halves with my pencil. From there I measure in 6 inches from the top, 3/4 inch for another board to intersect, 6 inches again, 3/4 inch, 6 inches, 3/4 inch, 6 inches, 3/4 inch, and the the rest to remain as is (approx. 6 inches). Your end goal in this step is 8 of these.
In order to get there, a setup on the table saw is required. There are youtube tutorials on how to make these if you do not own one. Our objective here is to cut out the segment drawn out in order to make notches. Set it up so that the left side stops the the wood for the right side of the notch and vice versa for the other side. The height of the blade should be at 2.5 inches
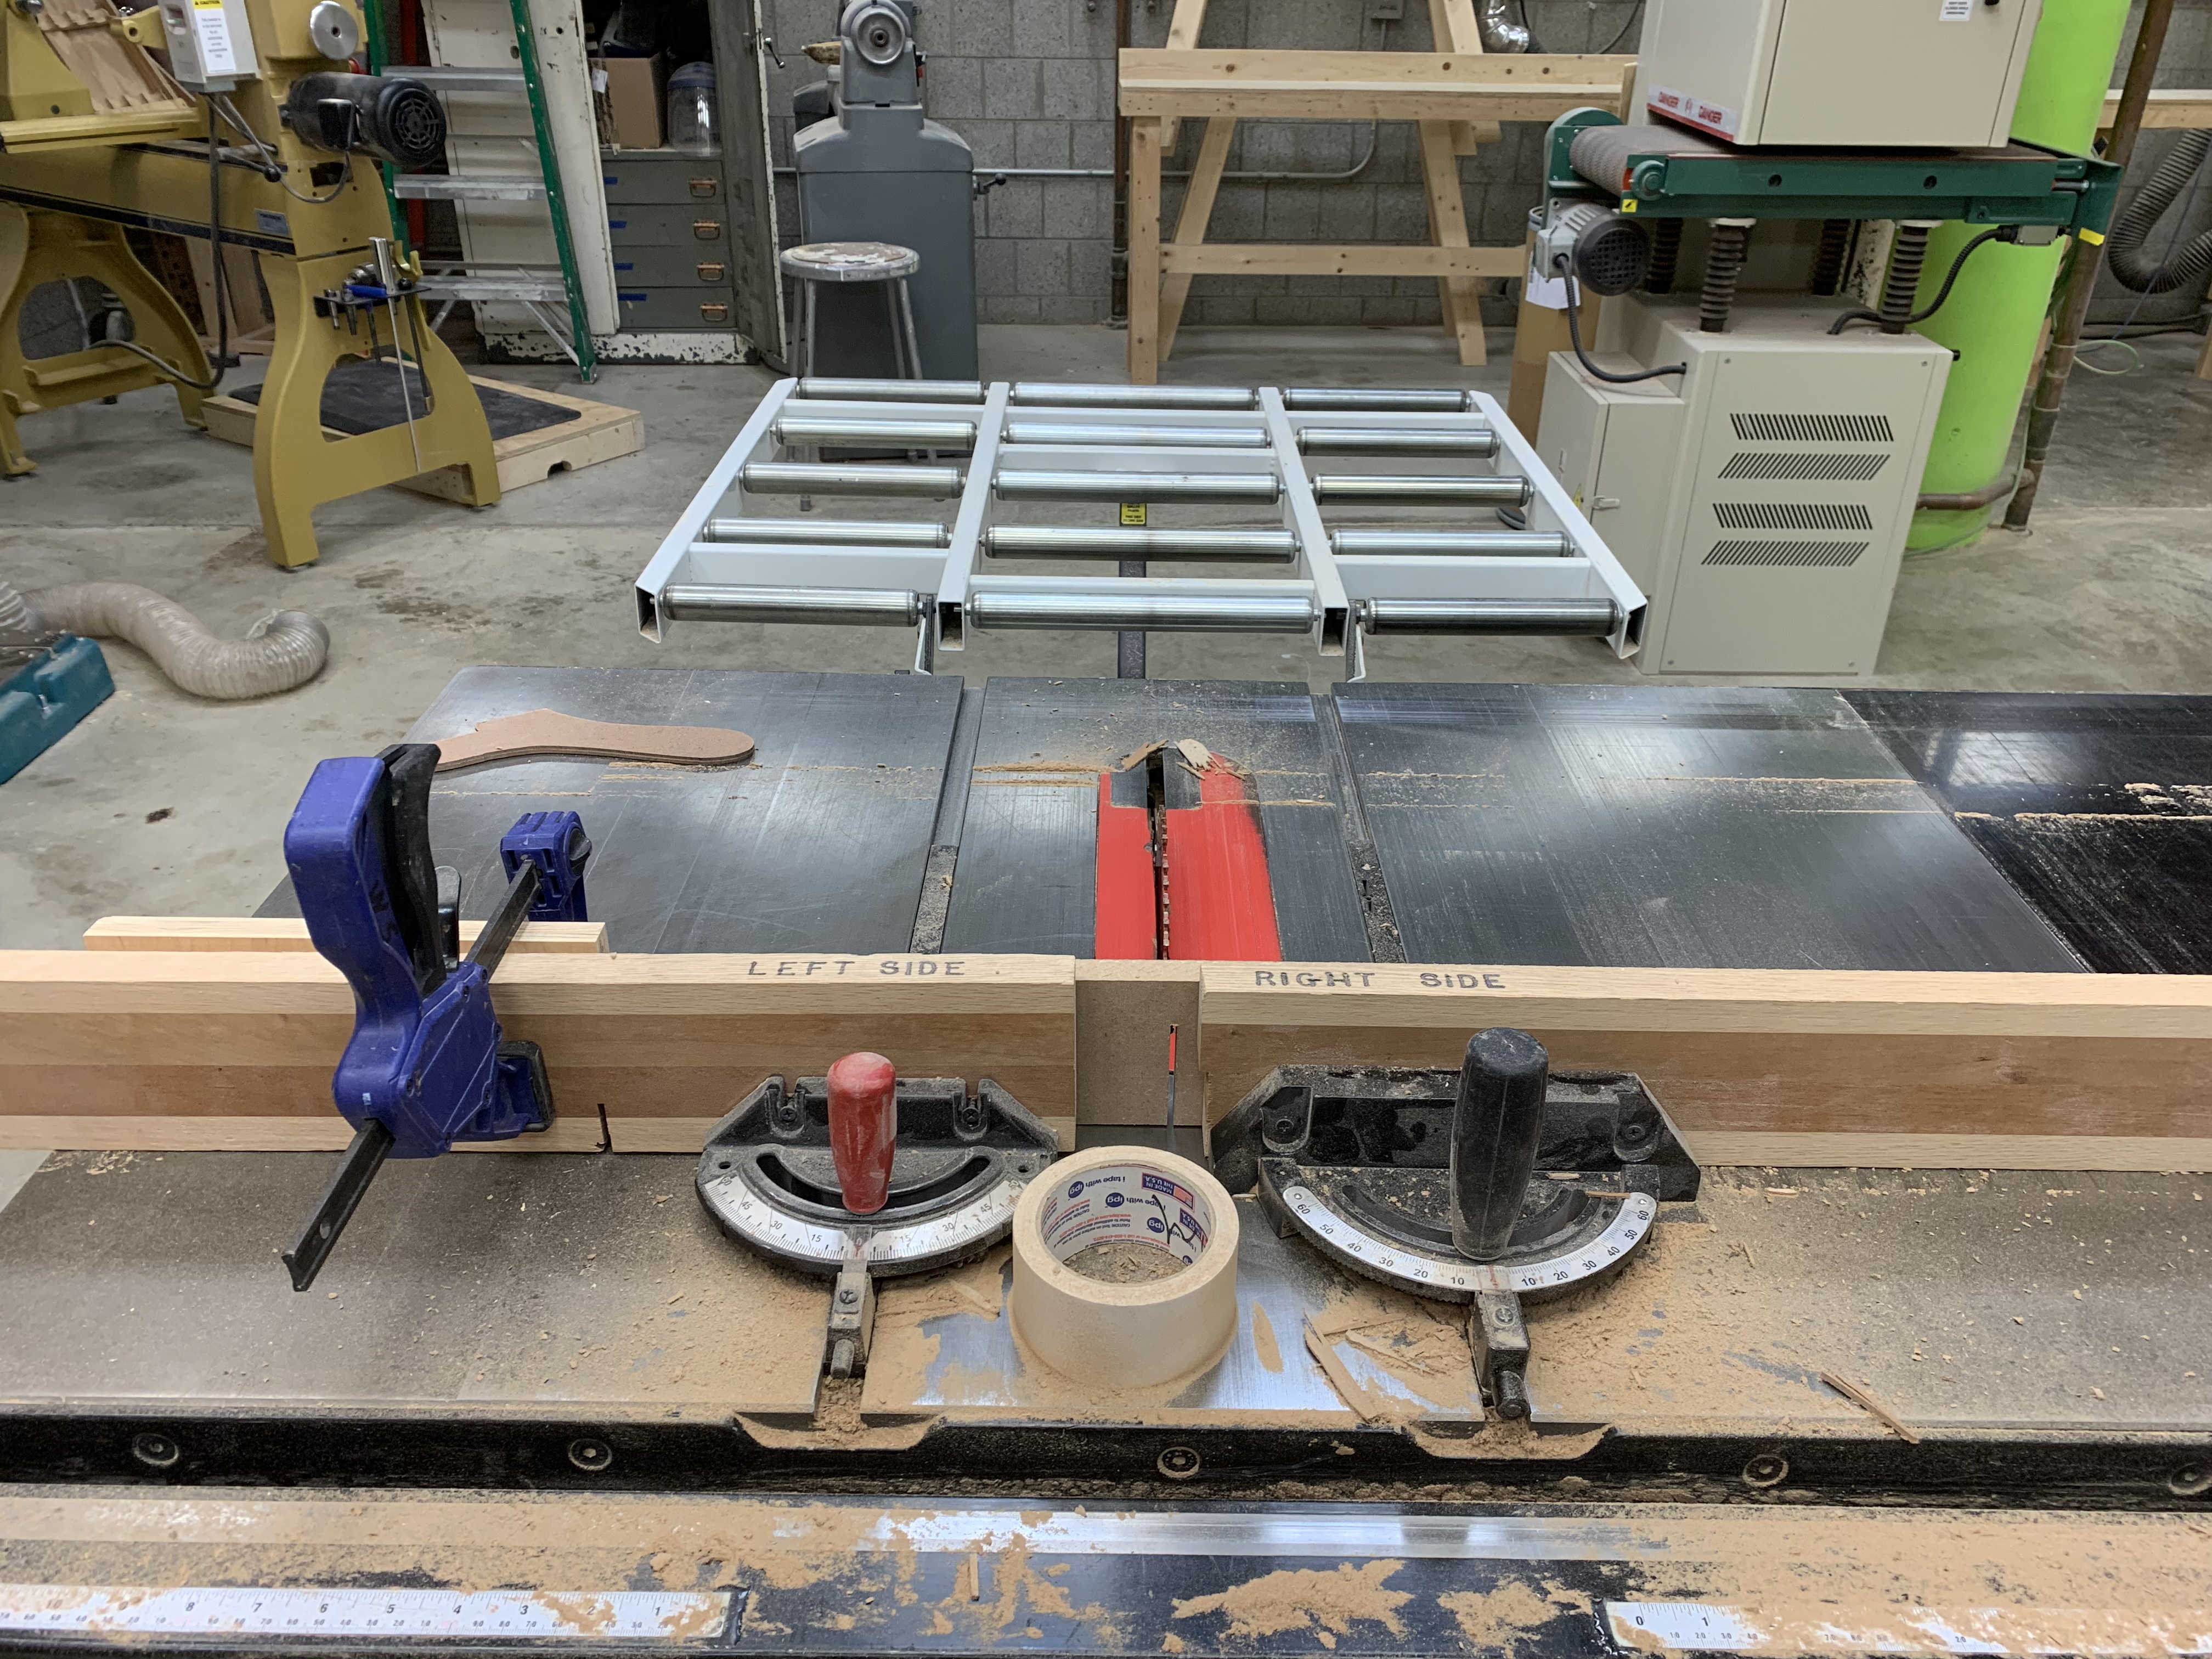

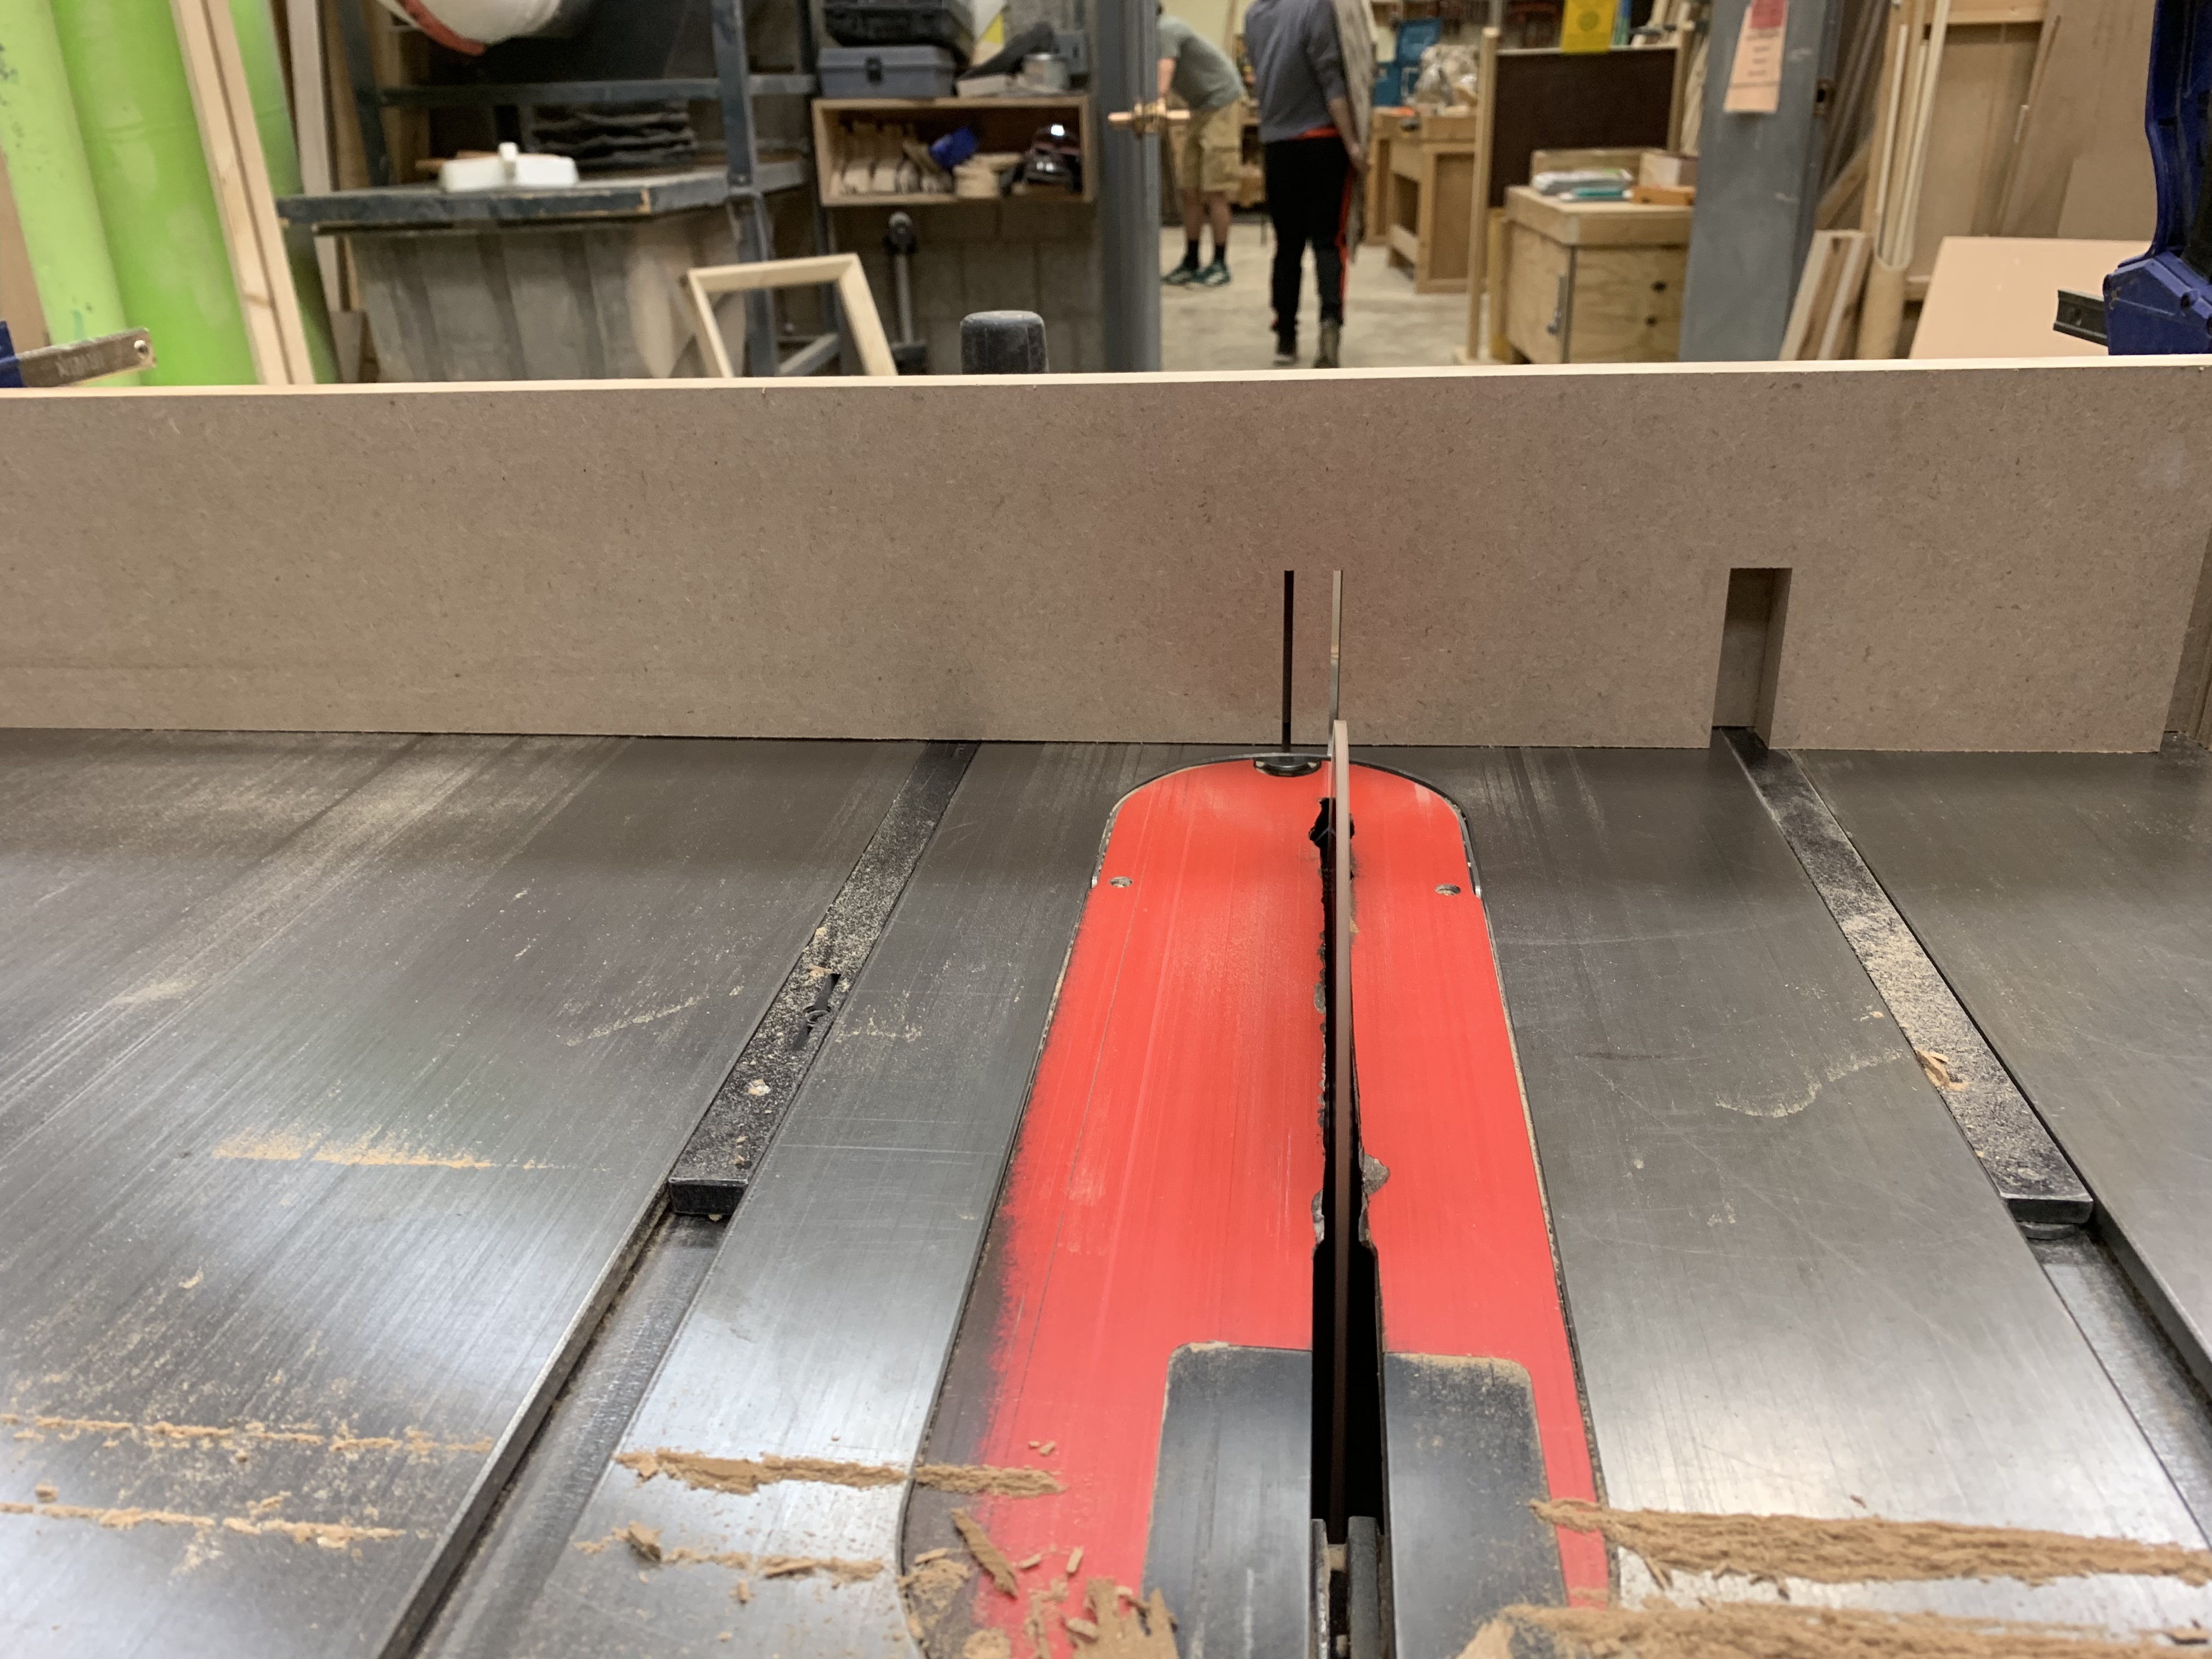
Once both of the end cuts have been done, keep running the piece through the table saw until the center is cleared out. Check if the gap can fit onto the 3/4 MDF board. Use this setup for the next 7 boards and then move onto the next notch.
When all the notches are created they should line up and create a grid with some adjusting.
Happy making!


